

RC rock crawler for beginners: a 1/10 outdoor trail quick-start (RTR-first)
If you’re shopping for your first 1/10 rock crawler—or planning a parent–kid weekend on local trails—this beginner guide is for you. We’ll keep things simple and practical: why a 1/10 RTR (ready-to-run) crawler is the easiest start, what key features really do on the rocks, a safe day‑one setup, and a step‑by‑step first trail plan. You’ll also learn basic battery choices and waterproof after‑run care so your crawler stays fun and reliable. Think of this as your unbox‑and‑drive playbook for an RC rock crawler for beginners.
Key takeaways
-
Choose a 1/10 RTR for the fastest, least‑fuss path outdoors; it includes the radio and electronics, so you can focus on driving, not building.
-
Learn five core features early—portal axles, locked differentials, drag brake, waterproof electronics, and 2.4GHz radios—to gain control and confidence on real trails.
-
Follow a day‑one checklist: bind radio, charge correctly (NiMH or LiPo), do a quick mechanical check, and start on gentle terrain.
-
Practice with a simple three‑stage trail plan: flat ground → small obstacles → linked lines with a spotter; finish with drying and storage‑voltage habits.
-
Keep safety conservative: charge on a non‑flammable surface, never unattended, and store LiPos around 3.8V per cell using your charger’s storage mode.
Why a 1/10 RTR is the easiest path outside
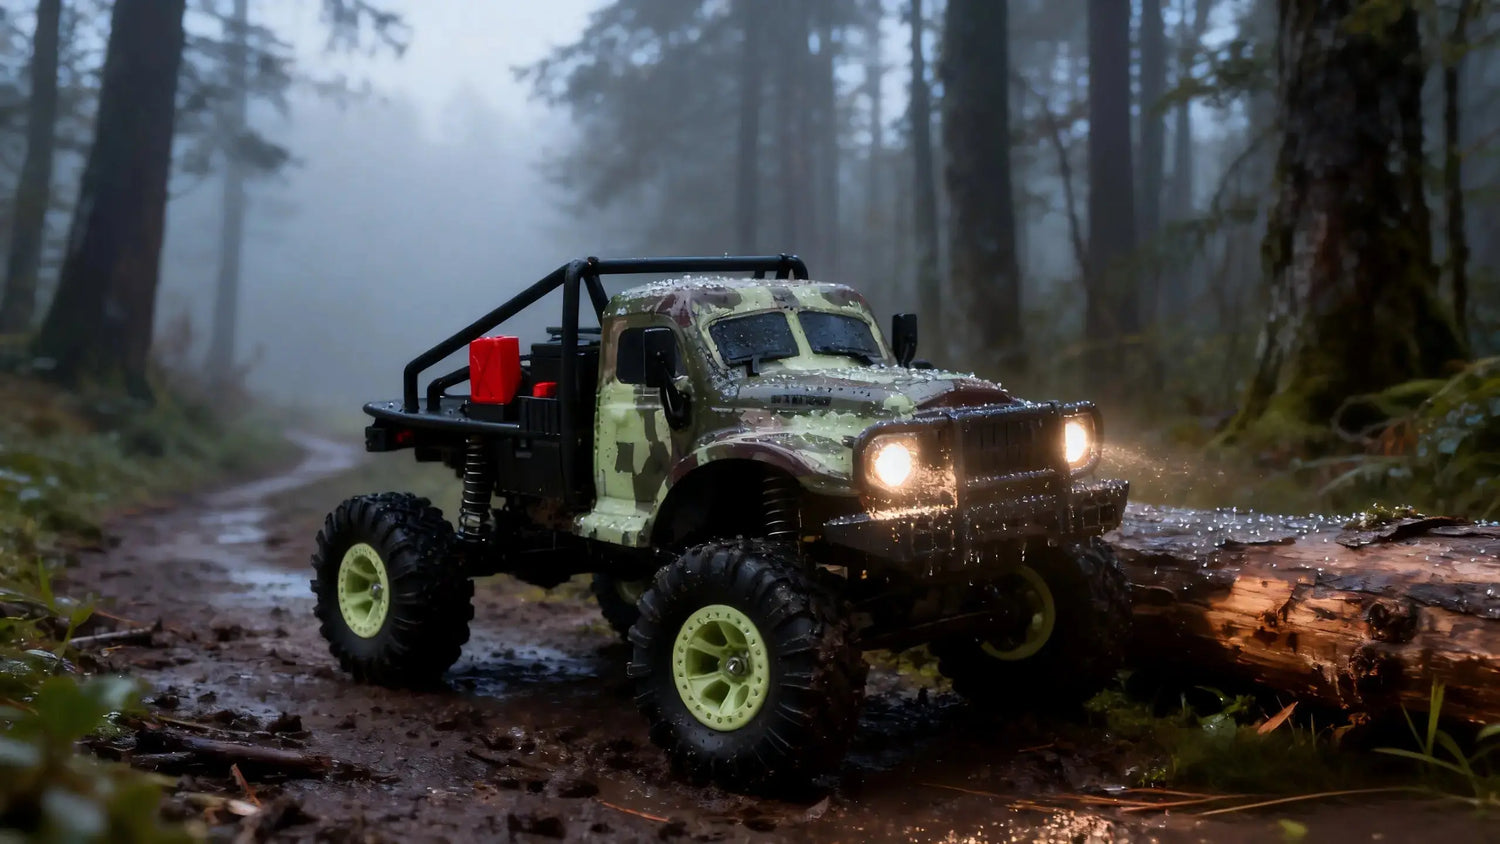
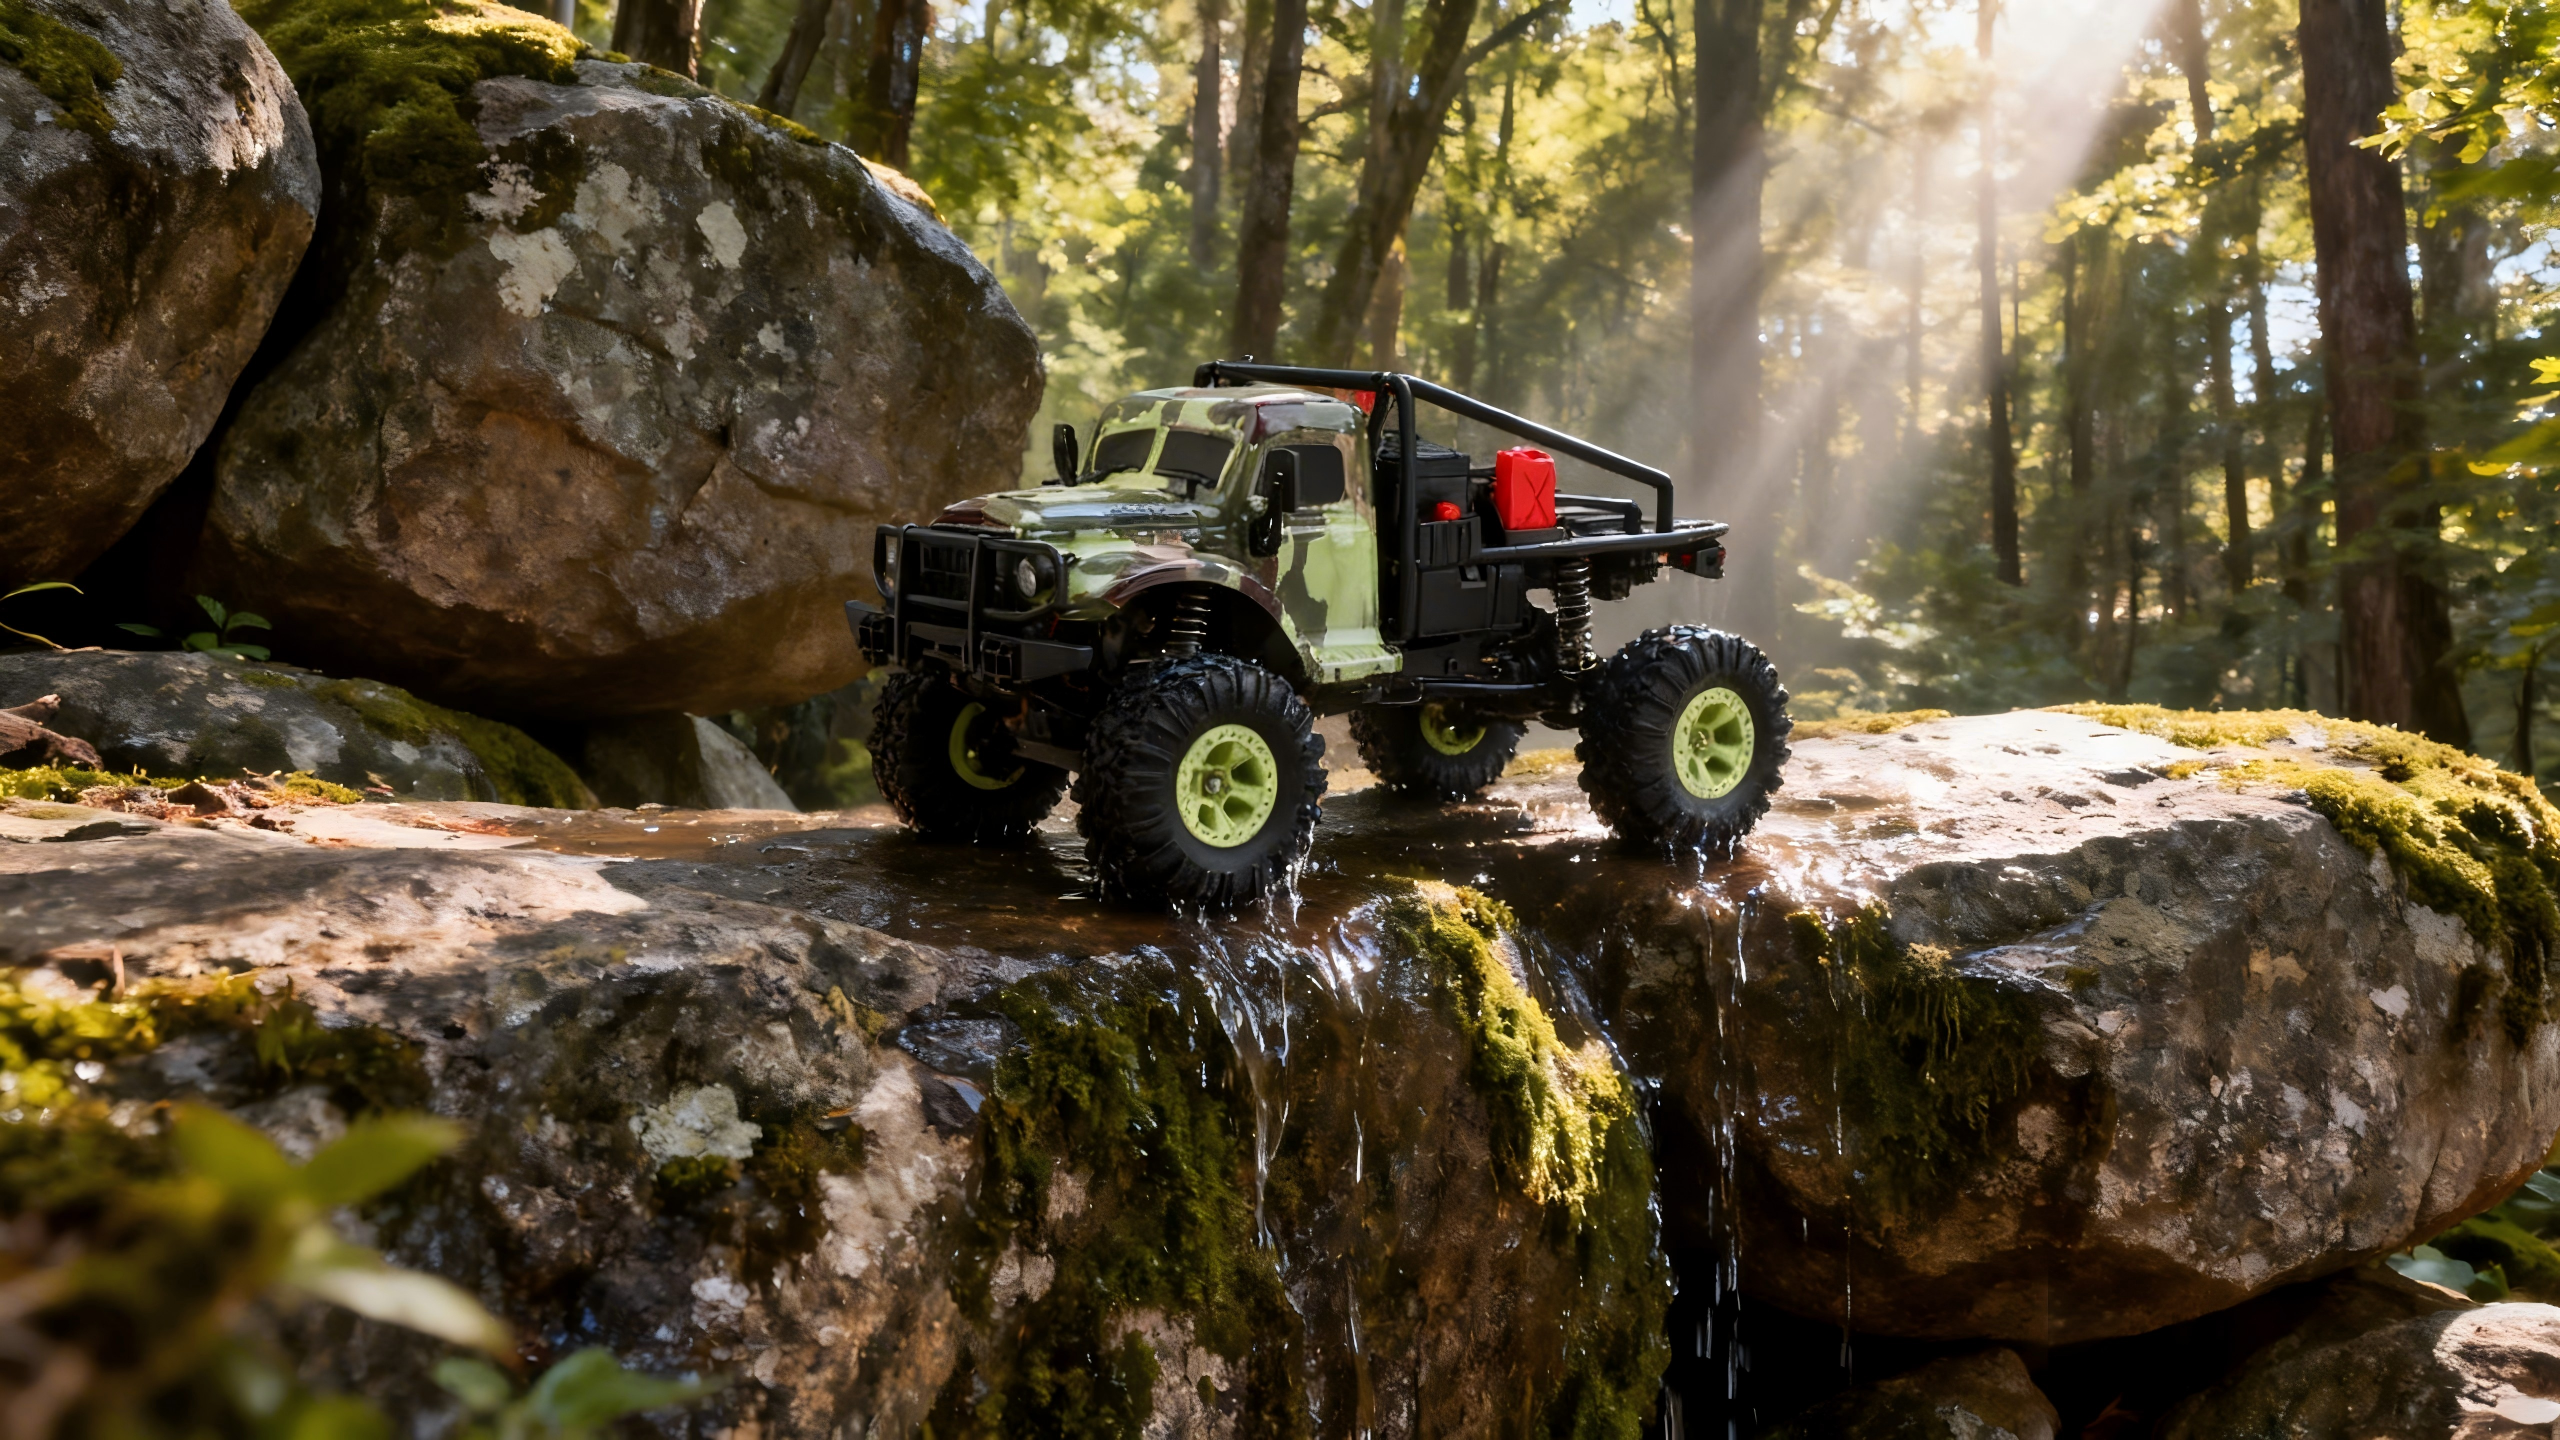
A 1/10 RTR rock crawler balances stability, obstacle clearance, and runtime with out‑of‑the‑box simplicity. You unbox it, charge the battery, and go. The larger 1/10 footprint rolls over roots and fist‑sized rocks that stop tiny models, and its slower crawl gearing lets beginners practice precise throttle without chasing runaway speed. Many RTRs include sealed or waterproof electronics, which means puddles and light mud won’t end the day—just keep claims conservative and always perform after‑run care.
Modern RTR radios use 2.4GHz spread‑spectrum systems that are resistant to interference and easy to bind, so family members can drive nearby without channel conflicts. As you build confidence, you can add small upgrades later (tires, servo torque), but the RTR foundation helps you learn technique first—exactly what a true beginner needs.
RC rock crawler for beginners — what matters most
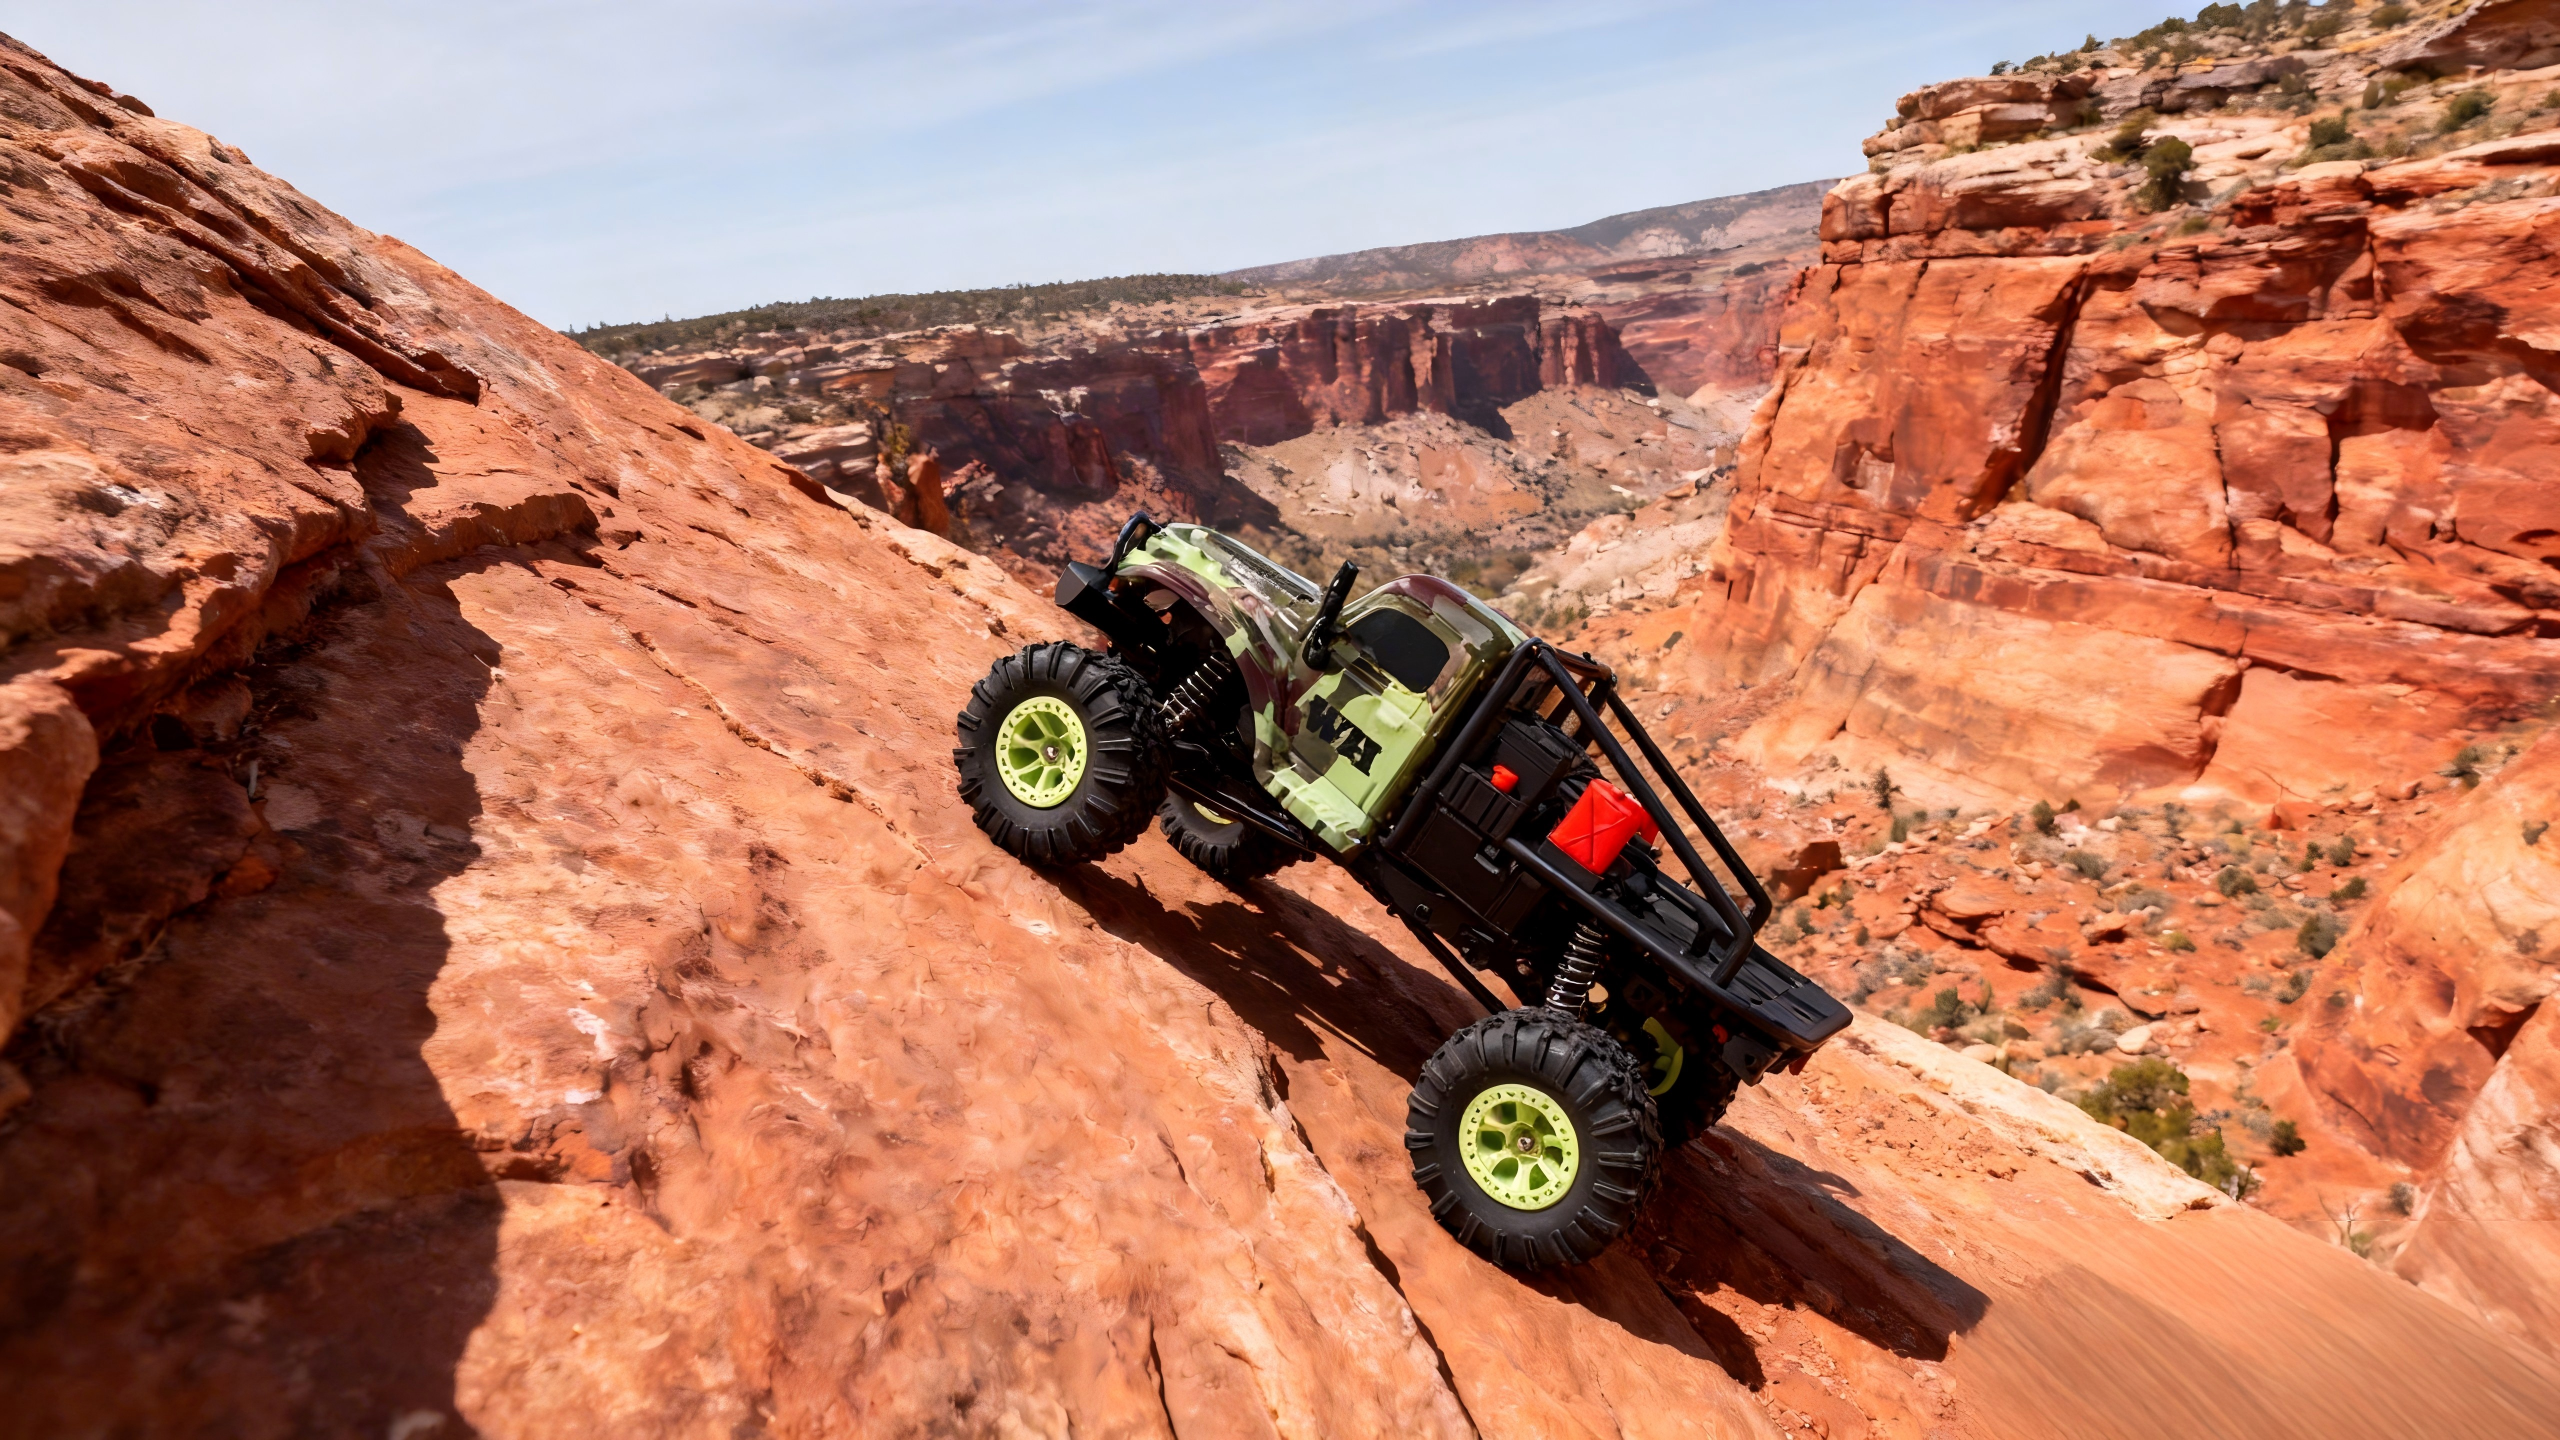
Portal axles (clearance that helps you “lift” the diff)
Portal axles raise the axle’s centerline using gearboxes at each wheel. That extra clearance keeps the differential housing from hanging up on rocks, reducing high‑centering. For a concrete example, Axial’s PRO45 portal kit for the SCX10 Pro shows an increase of 13.8mm of ground clearance—more than half an inch—which is noticeable for new drivers picking lines on rocky trails, as noted by the product spec on the retailer page for the kit in 2026: see the quantified claim on the Axial PRO45 portal axle listing in the Hobby Quarters product specification.
Locked differentials (steady traction when a wheel lifts)
Locked diffs make the left and right wheels on an axle turn together. When a tire lifts or loses grip, the other tire still gets torque, so you keep moving. Beginners experience this as “less surprise” when crossing offset rocks. Most crawlers have locked diffs front and rear because predictable traction matters more than high‑speed turning.
Drag brake (your hill‑hold when you release the trigger)
Drag brake is the braking force applied automatically when you return the throttle to neutral on a crawler ESC. Hobbywing defines it plainly: “brake force on the motor when the throttle trigger returns to the neutral position.” That behavior prevents unwanted roll‑back on inclines and allows calm, inch‑by‑inch descents. See the definition and crawler behavior in the 2024 manual for the Fusion Pro series from Hobbywing in the QuicRun Fusion Pro manual (2024).
2.4GHz radios (reliable control without channel pins)
Spread‑spectrum 2.4GHz systems hop frequencies and packetize control data to avoid interference with Wi‑Fi and other devices. Futaba’s technical pages describe how protocols like T‑FHSS pair hopping with receiver binding so only your linked model responds—no frequency crystals or pins to juggle. For a clear overview of modern surface systems, see Futaba’s explanation of protocol and binding behavior in their surface radio communication systems page.
Waterproof electronics (confidence in puddles—still dry it after)
Retailer and manufacturer materials for popular crawlers use system‑level phrasing like “waterproof electronics” and “fully waterproof design,” which is great for family use in wet grass, puddles, and light mud. Treat it conservatively: avoid submersion unless the maker explicitly says it’s OK, and always dry and inspect after the run. For typical phrasing and examples, see how the TRX‑4 line is described on an established retailer page in 2025–2026, such as RC Superstore’s listing referencing waterproof electronics in the Traxxas TRX‑4 trail crawler overview.
What’s in the box: a practical RTR checklist
An RTR crawler typically includes the vehicle, a 2.4GHz transmitter, and pre‑installed electronics (ESC, motor, receiver, steering servo). Some RTRs include a battery and USB‑type charger; others expect you to buy them separately. Check the product page before purchase to confirm battery type and connector. For a sense of what typical RTR inclusions look like across beginner options, you can browse the RC Cars & Trucks hub on Playpulse RC’s collection page and compare what’s in the box for each model.
Day‑1 setup and safety checklist
-
Bind and test the radio: Install fresh AA cells in the transmitter. Follow your manual to bind the receiver, then verify steering and throttle directions on a stand. Set trims to neutral and check that the drag brake engages when you release the trigger on a gentle slope.
-
Charge the battery correctly: If using NiMH, select NiMH mode on your charger. If using LiPo, balance‑charge at around 1C, confirm cell count, and charge on a non‑flammable surface in a LiPo‑safe bag. Never leave charging unattended. Institutional safety guidance from the University of British Columbia (2025) emphasizes supervised charging on proper surfaces and storage at partial charge; see the UBC lithium battery safety guideline (2025). For a practical storage‑voltage target (~3.8V per cell) and how to use “storage” mode, see EuroRC’s LiPo how‑to page.
-
Quick mechanical check: Confirm wheel nuts and body clips are snug, links move freely, and the drivetrain spins smoothly by hand. Add a dab of thread locker to any metal‑to‑metal screws if the manual recommends it.
-
Pick beginner terrain: Start on flat dirt or short grass, then try small logs and palm‑sized rocks. Go slow and keep throttle inputs tiny. For kids, assign a spotter who calls out tire placement and reminds them to pause and let the drag brake hold on slopes.
Your first trail plan (a three‑stage practice you can finish in under an hour)
-
Warm‑up (10–15 minutes): Straight lines and broad turns on flat ground. Roll onto a shallow incline, release the throttle, and feel the drag brake hold before easing back down under control.
-
Small obstacles (10–20 minutes): Approach a low log or single rock at different angles. Pause halfway up, let the drag brake hold, then creep over. Practice smooth descents with minimal trigger movement.
-
Link a line (10–15 minutes): Combine two or three features—incline, small rock, gentle off‑camber—at walking pace. Use a spotter for kids. Focus on feathering the trigger and placing the front tires where you want the chassis to go.
When you’re done, power down, remove the battery, dry the chassis, and set LiPos to storage voltage before you pack up. That five‑minute routine dramatically reduces wear.
Maintenance and waterproof after‑run care
After dusty or wet runs, wipe down the chassis, remove trapped debris from the axles and driveshafts, and let the crawler air‑dry. If you splashed through puddles, spin the wheels gently to shed water, then towel‑dry the tires and inspect bearings over the next day. Re‑tighten any fasteners that backed out and add a small amount of light oil or grease where your manual recommends (for example, pivot balls or exposed linkages). Even when electronics are described as waterproof, moisture can linger in foam‑filled tires and metal parts, so this quick care keeps performance consistent.
Batteries 101: LiPo vs NiMH for a 1/10 rock crawler
NiMH is the simplest starting point: fewer charger settings and generally more forgiving behavior, though with less punch and potentially shorter runtime. LiPo offers stronger torque and longer runs at similar weight, but it demands a few disciplined habits: always balance‑charge at appropriate current, use a fire‑resistant surface and a LiPo bag, and never leave the charger unattended.
Two safety anchors are worth bookmarking. First, an institutional baseline for safe charging and storage comes from the University of British Columbia’s risk management team; they emphasize non‑flammable surfaces, supervision, and partial‑charge storage in a cool, ventilated place—see the UBC lithium battery safety guideline (2025). Second, for everyday hobby procedures like using the “storage” program and aiming for about 3.8V per cell when you’ll shelve packs for days, follow EuroRC’s step‑by‑step LiPo guidance. If your RTR supports only certain chemistries or voltages, stick to the manual’s limits.
Troubleshooting the first weeks
If the crawler won’t move, start with the simple things: confirm the battery is charged and firmly connected, the ESC switch is on, and the transmitter is bound (many radios show a solid link LED when connected). If low‑speed control feels jerky, verify you’re in the crawler driving mode in your ESC and that the battery type setting matches your pack. After a wet outing, dry the model thoroughly and let bearings breathe; intermittent servo or receiver behavior that appears only when damp often clears once moisture evaporates. For drag‑brake behavior that feels too weak or too aggressive, consult your ESC manual—crawler‑focused models typically allow adjustment from the radio or via programming cards, and Hobbywing’s crawler manuals explain these options clearly in their 2024 documentation.
Skill progression and light upgrades
When you can place the front tires accurately and descend under control without sliding, you’re ready to add mild challenges: steeper inclines, stair‑step rocks, and off‑camber lines at walking pace. For upgrades, start with high‑grip tires and foams that match your terrain, then consider a stronger steering servo for precise placement. Save deeper changes (gearing, transmission, kit builds) until you’ve logged several outings and can describe exactly what you want to improve. Kits make sense later if you enjoy the wrenching side and want to customize from the ground up; your RTR experience will make that journey far smoother.
Resources and next steps
-
Drag brake definition and crawler behavior are explained in Hobbywing’s 2024 documentation; see the QuicRun Fusion Pro manual (2024).
-
For a plain‑English overview of 2.4GHz spread‑spectrum control, see Futaba’s surface radio communication systems page.
-
A quantified portal‑axle clearance example (+13.8mm) is listed on the Axial PRO45 portal axle kit product specification.
-
Typical “waterproof electronics” phrasing for RTR crawlers appears on established retailer pages like RC Superstore’s Traxxas TRX‑4 trail crawler overview; still dry and inspect after wet runs.
-
Safe charging/storage baselines: the UBC lithium battery safety guideline (2025), with procedure details such as storage‑voltage use in EuroRC’s LiPo how‑to.
Ready to compare beginner‑friendly RTR rock crawlers and see what’s in the box for each model? Explore the RC Cars & Trucks selection on Playpulse RC to evaluate options at your pace. Browse specs, what’s included, and choose the setup that fits your family and trails.


Leave a comment
This site is protected by hCaptcha and the hCaptcha Privacy Policy and Terms of Service apply.